


Document Actions
gvSIG-Desktop 1.1. Manual de usuario.
Añadir capa de Eventos
Introducción
A new layer can be created from a table in gvSIG by using “Add event layer”.
There are two ways to do this: you can add a table to the project or you can work with a table associated with one of the layers in the view in which you are working at a particular time.
Añadir capa de eventos desde una tabla nueva
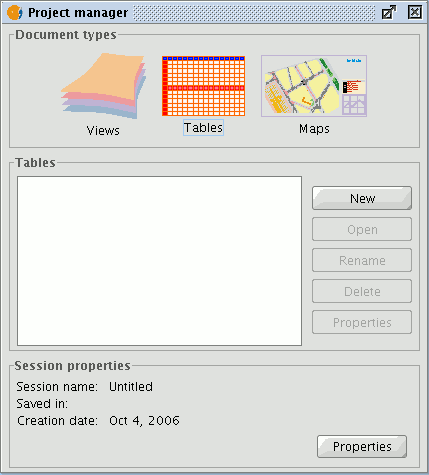
Firstly, the table needs to be loaded. To do so, go to the gvSIG “Project manager” and select "Tables" in document types. Then click on "New".
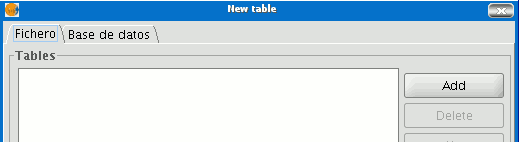
A search dialogue opens to add the table you require. Click on "Add".
A dialogue box appears in which you can choose two types of data sources: dbf and csv.
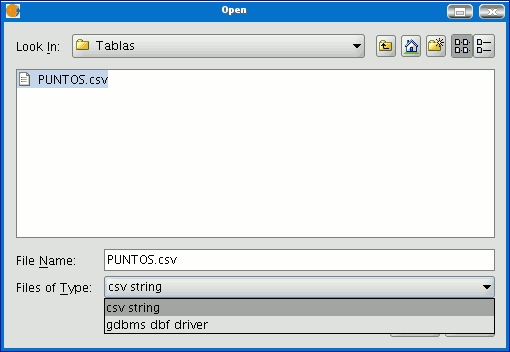
When you have found the table you require, select it and click on “Open”.
gvSIG automatically returns to the "New table" window and adds the table you require to create the event layer in the text box.
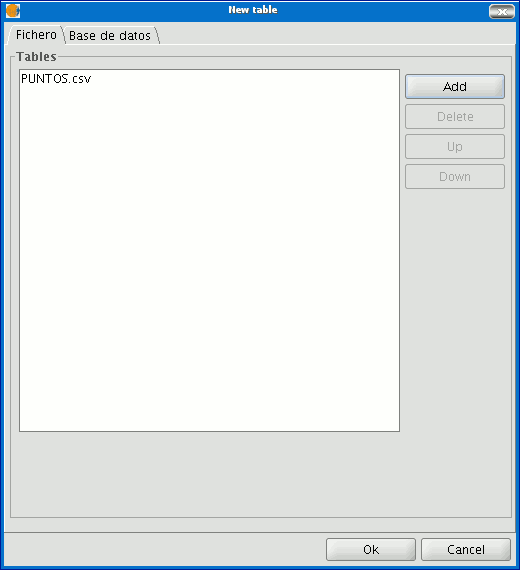
Click on “Ok” to finish the process.
When the table has been added, a view must be active to create its corresponding event layer and load it. If no view is active, you can return to the “Project manager” and add one or create a new blank one. When you have activated this view, go to the “Add event layer” by using the corresponding button in the tool bar:

A window with three pull-down menu bars appears.
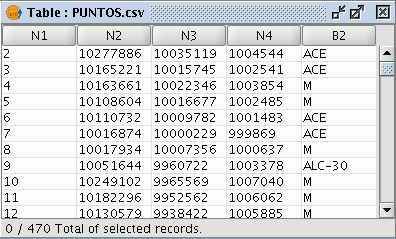
We can select the table we need to add the new layer from the first pull-down menu bar.
Then, we can select the table fields which will become the X and Y values.
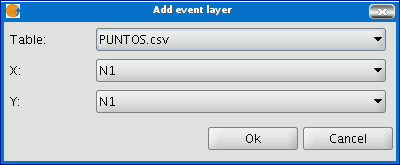
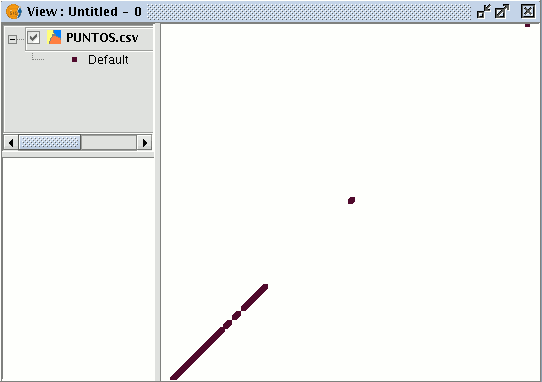
If you click on “Ok”, a new points layer will appear based on the coordinates contained in the initial table.
Añadir capa de eventos desde una tabla asociada a una capa de la vista
If you wish to work with a table associated to the layers in the view, you will firstly have to activate the attribute table of this layer. To do so, click on the following button in the tool bar:

If you click on “Add event layer”

you will see that the table has been added.


